
We have a standard raised ranch (or BC Box, Bi-Level, whatever you want to call it) home. The previous owners just loved to smoke in it, and generally keep on with a state of disrepair... unless of course it was adding themes to a room. Boy did they love themes. E's room used to be the "voices of the sea" room. It had a giant mural of Orcas. With a banner. Ugh. Its now perfectly calm and serene and one of my favorite rooms of the house!
But back to my current favorite room - the gym.
We used to have the workout gear set up in our detached garage - which worked perfectly fine before I had E... and not in the winter, because it wasn't heated. Well we decided we wanted to move it down into what was our guest room so that I could use it easier. Too cold (even in the spring!) to take E out there to sit through my workout. And too far if I needed to quickly pop into her room while she was napping. So in order to move it, we needed to reno the room!
My husband wasn't so keen on renoing it. We have an entire house to reno - and it was just one more project for him (in his defense, he does have one serious to-do list.) So it was mostly on me to do it. The work was mostly cosmetic - and since I am a firm believer that I can do anything, off I went to transform it!
Now, I totally forgot to take photos before I started. But it had ugly wallpaper. Very floral. Very unattractive. Peeling in some spots. I found out later they had wallpapered over some outlets. Oh joys.
 Step 1: Peel the wallpaper off. That was pretty simple. Peeling off the glue on the other hand? Well that sucked. Okay sucked in comparison to the ease of peeling wallpaper. Little foreshadowing here? Maybe.
Step 2: Peel off wallpaper glue. This was a pretty easy process too. Fill a spray bottle with like an inch of fabric softner and the rest warm water, then spray and scrape. Super easy. Spray in smaller areas cause it dries quick, and you have to scrape while its wet. But it comes off pretty easy. Side Perk - super fast way to great rid of any old room smell and replace with overpowering fabric softener smells.
Step 3. Paint. I went and bought some miss-tinted paint at the local paint store. We had left over primer, so I just went to town with that.
Step 3.5: Ombre Wall! I knew I wanted to do one ombre wall with some left over colors we had.
 To do the ombre wall I painted in sections. Grey Blue and White.
You will need a paint tray and roller in each of these colors. Then, when I did the second coat I started the ombre. I started at the bottom, but it really doesn't matter.
Started with Grey on my roller, did the full strip of grey, then added some blue in the tray and had it meet up to the blue strip.
Then I painted the straight blue and rolled a little bit down into the grey/blue part, it mixed a bit on the wall. I alternated the rollers a bit to figure out the type of blend I wanted. You have to work quick, because you want the paint to still be wet while you're blending.
Same process with white - Painted white, and slowly added some blue to the white, then rolled down.

By the way you will want to paint on a horizontal line, not vertical.
Step 4: Remove ugly-ass carpet. Parts of our carpet were already lifting - so I thought I could do it. Turns out I am not Wonder Woman, contrary to my own belief. The underlay had been glued down, so my husband needed to use his brute strength to rip it up for me. Hoo-ra! Once that was done I realized I had a much more daunting, horrible, torturous task ahead of me - scraping off the glued on underlay!
Step 5: Scrape off underlay from hell. Not much glamorous about this. Grab your ice scraper and start scraping. Prepare for callouses and sore arms. It took a few nap times for me to complete this. And luckily my old roommate came by and helped with a chunk. Yay for extra wo-man power!
Step 6: Bask in the glory that is no underlay on the stupid floor. Seriously. After all that work - bask - for like a week!

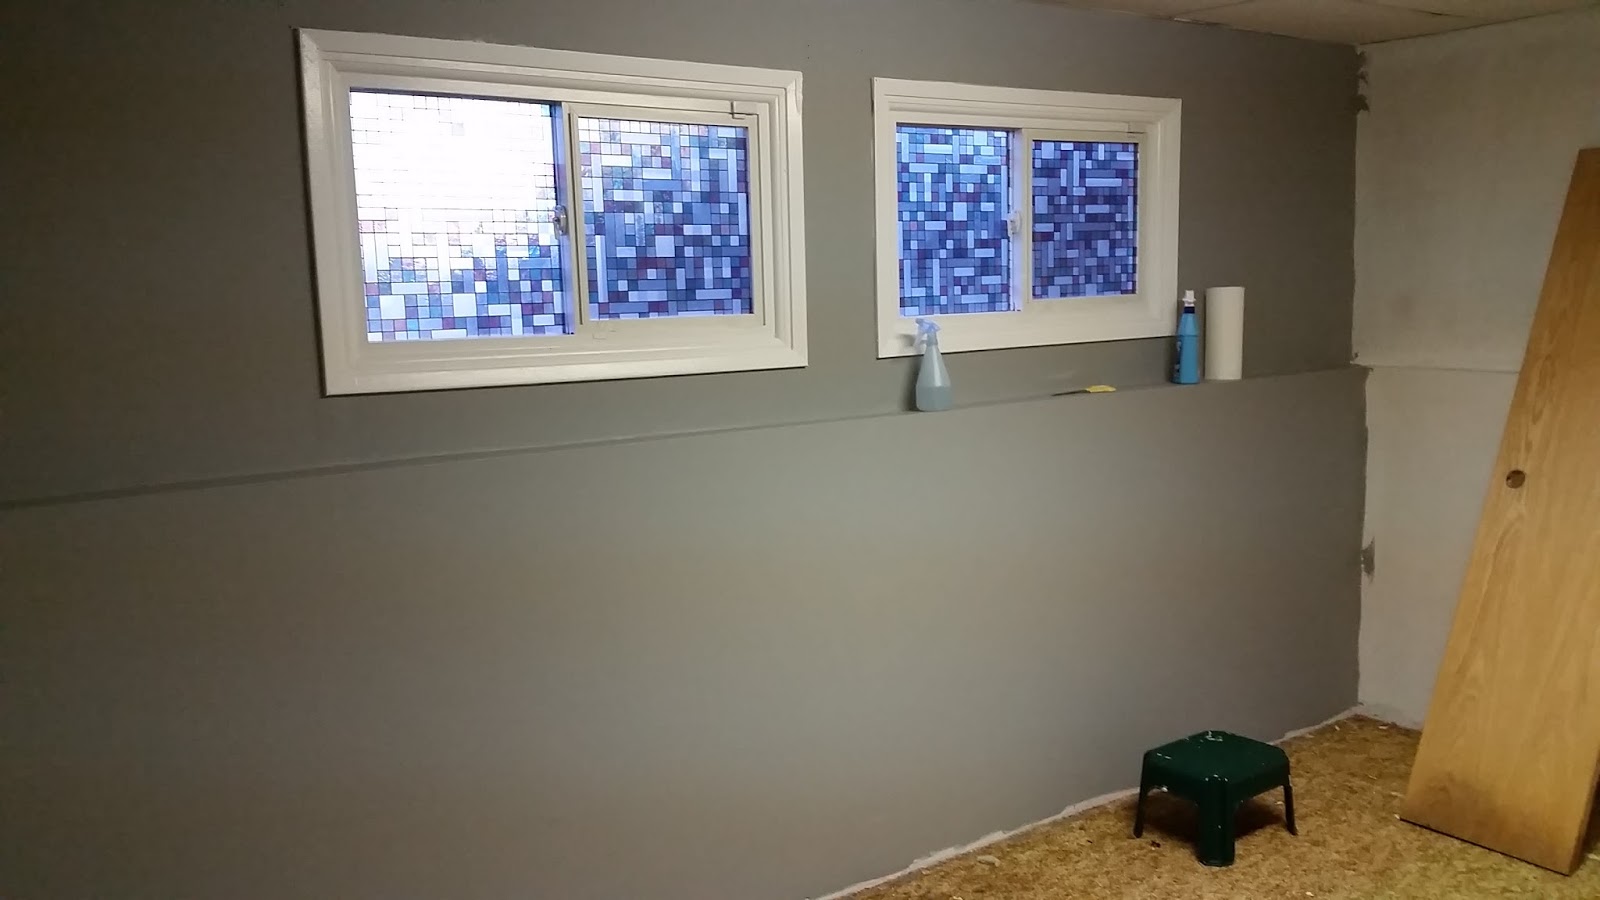
Step 7: Not necessary but totally cute window decals. You can get this at pretty much any home improvement store. You just spray water on your window and add them like a normal decal. Super cute. Ads privacy but keeps the light.
 Step 8: Move equipment/set up gym. Moving the big "cage"/cable machine was mostly on my husband - he knew how to do it, it was big - I let him. I helped him move the pieces down and helped him set up, but it was his project to do so. But then I go to do the fun stuff, set it all up!
I put up photos from when we were more fit, when we were doing active things we liked (zip-lining in Mexico, playing paintball, my photo from Color Me Rad, etc) basically anything I thought would inspire us.


 I added white boards with my workout schedule, and inspirational quotes. Added a chalk board with Word of the Day exercises (in case I wanted to mix it up a bit), mirrors so we can see how SWOLE we are getting... just generally prettified the room.
We got some of those puzzle foam mats from Walmart and put them in. The fun part about an older house is that the rooms aren't actually perfectly square or rectangular - their rectangul-ish. So There was some custom puzzling on my end. But I got it. Even hijacked some of my daughters smaller foam puzzle pieces so I could spell "Work It" on the side. I know. Sheer Genius!
I am so happy we (but mostly me!) did this and so happy with the outcome. It looks amazing! And I can tell you,it is a pleasure to work out in! Just another way I'm making sure I have no more excuses!
 |
| Love My Ombre Wall!!! |
 |
| Mirrors, Rower, Cable Machine aka "The Cage"! I love our Gym! |
No comments:
Post a Comment